Getting UV Curing Right for Textile Printing
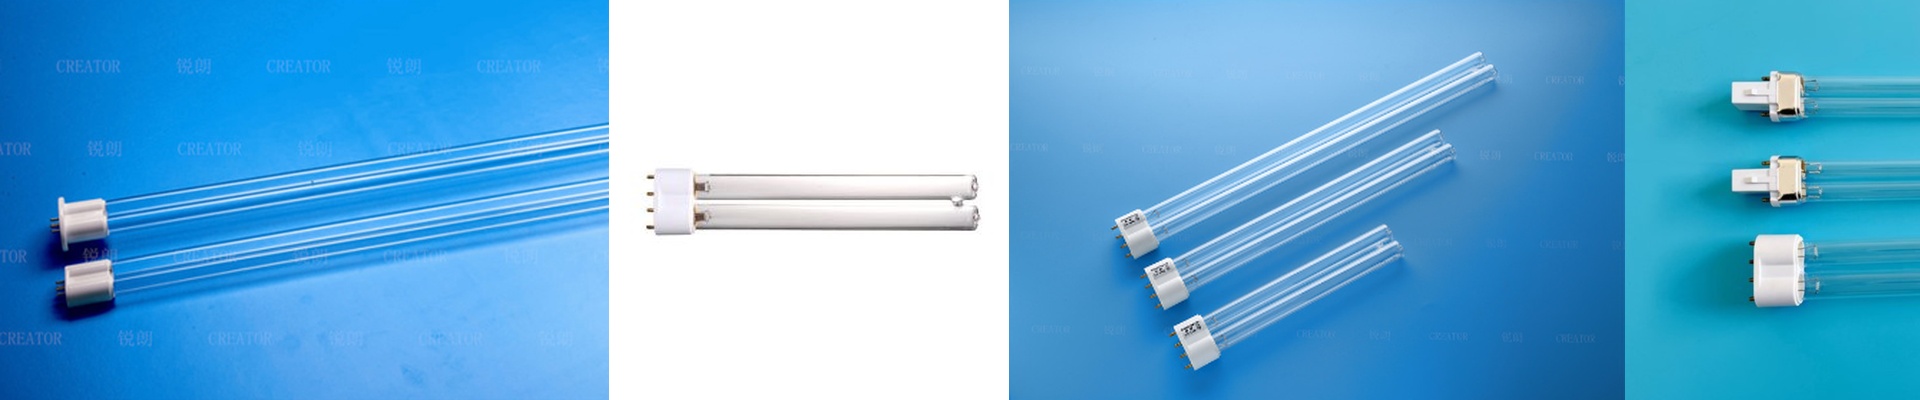
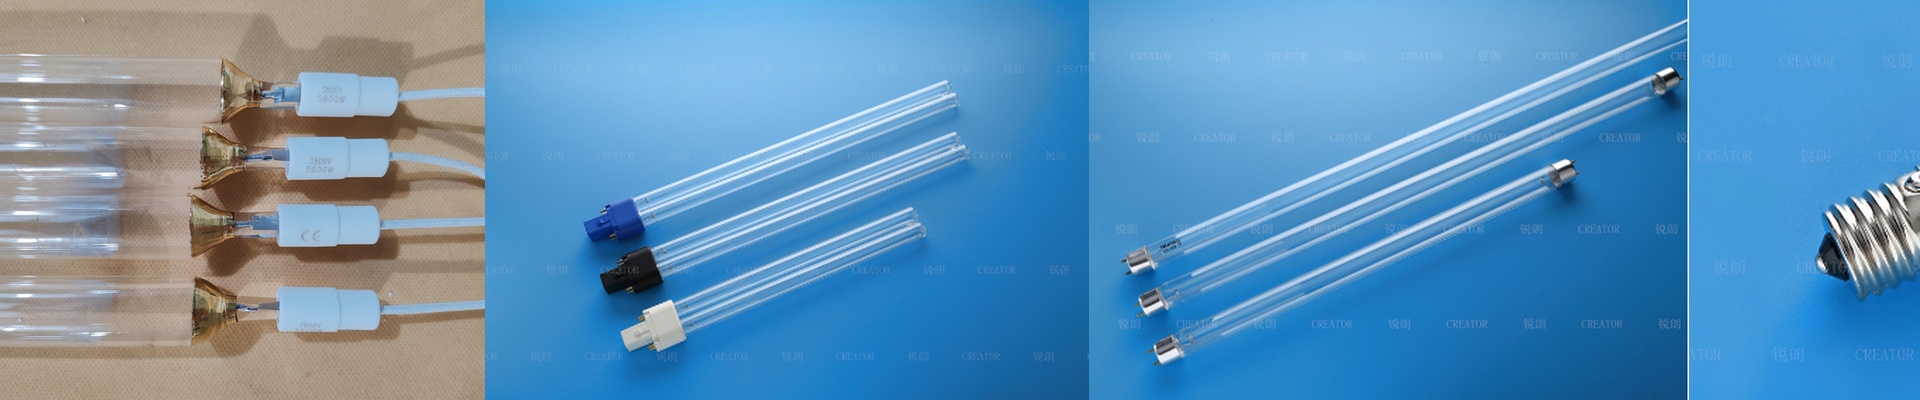
UV curing is basically a balancing act. You need just the right amount of ultraviolet energy to hit the ink and make it set. But fabric is a tricky beast. Between uneven tension and different material thicknesses, it’s easy to end up with spots that aren’t fully cured. That’s why we build our UV lamp systems to be modular. It just makes more sense.
Power That Grows With You
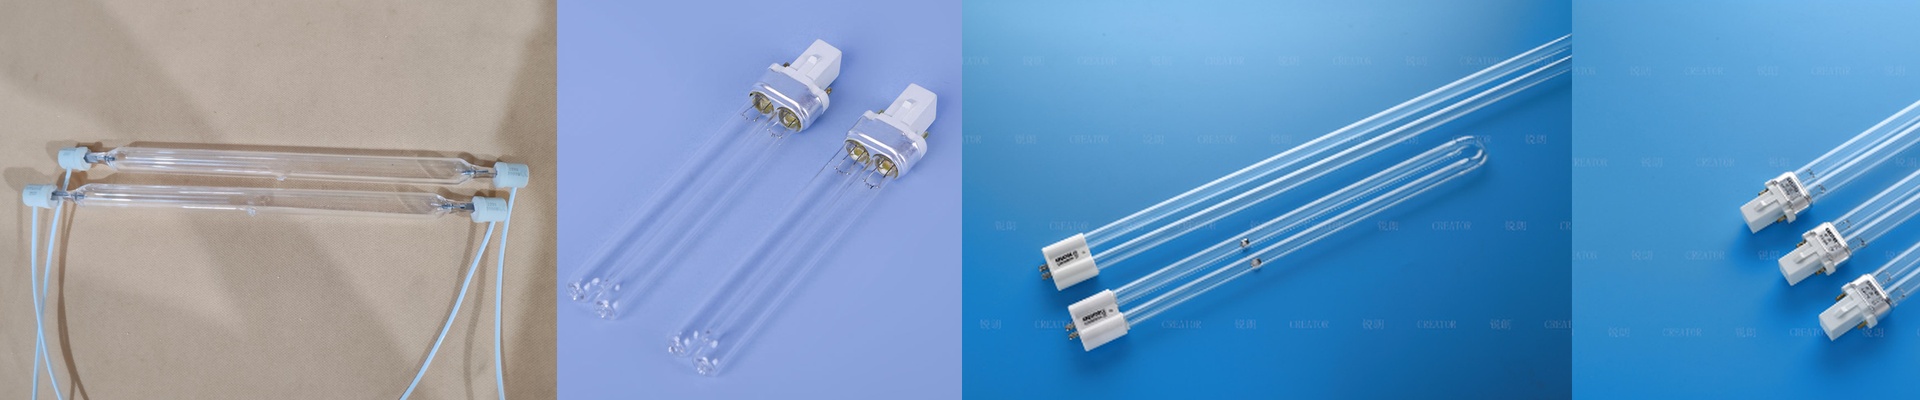
Here’s the thing: your wattage needs to match your line speed. If you’re flying through a run, you need more punch. We group the lamps into independent banks so you can tweak the intensity on the fly. Running a heavy white underbase? Crank up the power in the first module to get it locked in. Switching to light colors? Dial back the later banks so you don’t accidentally scorch the fabric. And we’ve all been there—a lamp burns out right in the middle of a big job. Instead of the whole line going dark, our segmented layout keeps the rest of the system humming. You just swap the dead tube and get back to work.
Heat and Light (The Tricky Part)
Whether you’re using mercury-vapor or LED, the wavelength has to play nice with the photoinitiator in your ink. If they don’t match, it just won’t set. But there’s a catch. High-intensity UV lamps gethot. Really hot. If your cooling isn’t spot on, you’ll see the fabric warp or the ink start to bubble. To stop that, we use focused air-cooling nozzles. They pull the heat away from the fabric while the UV photons do the heavy lifting.
Keeping Things Running
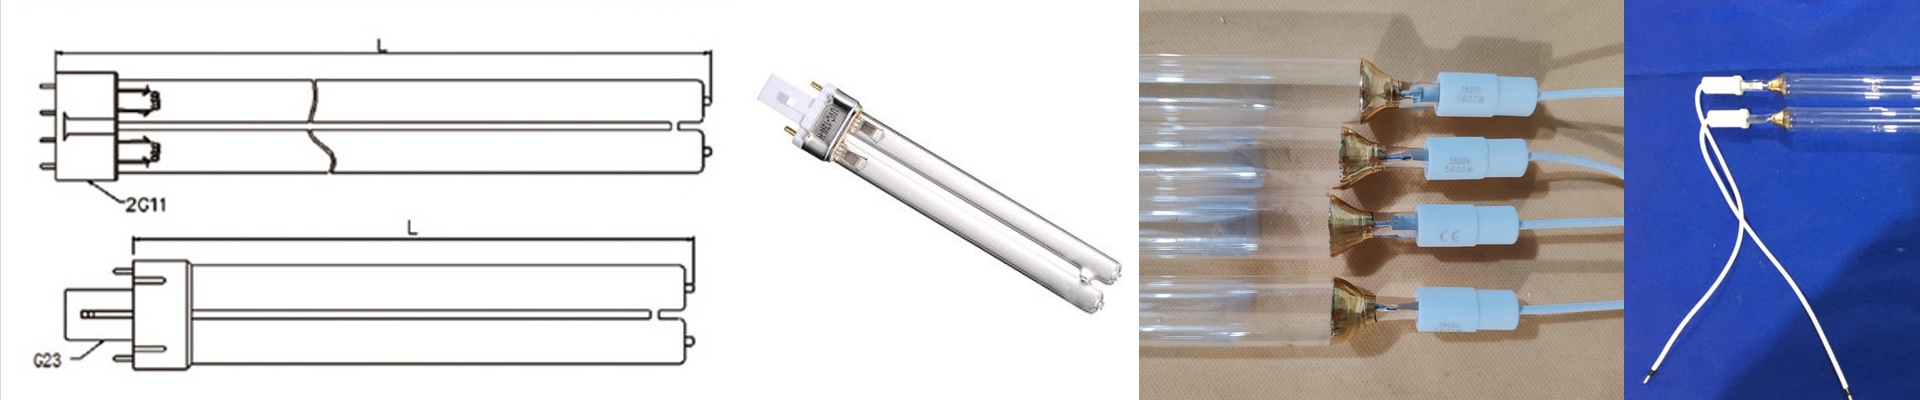
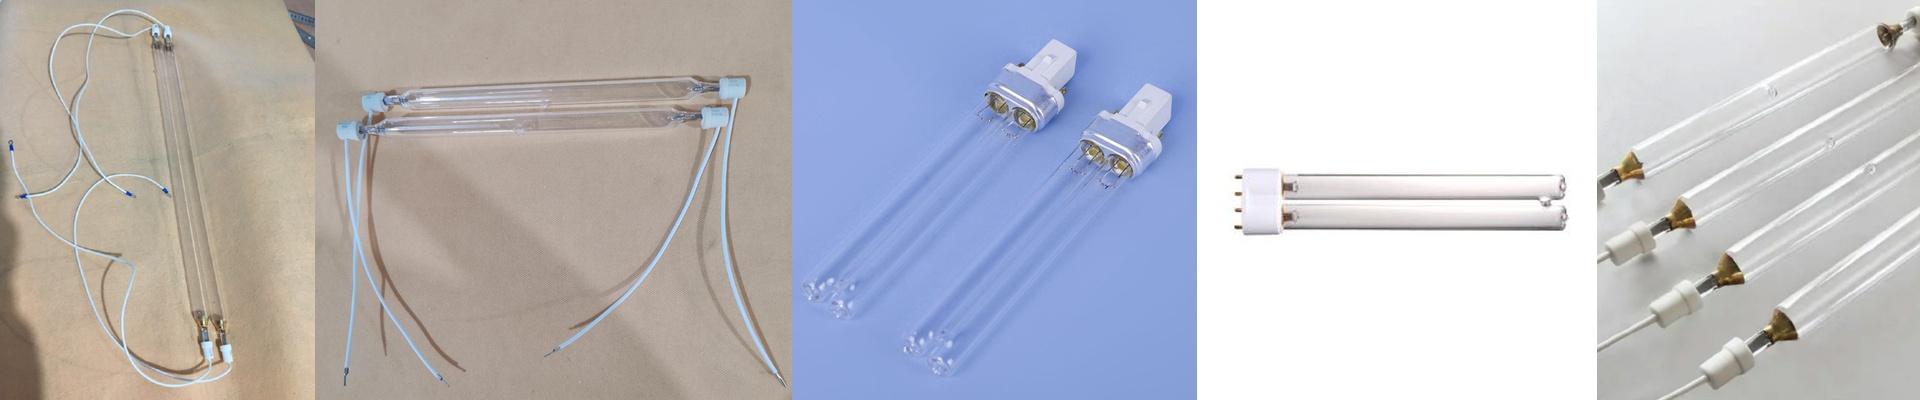
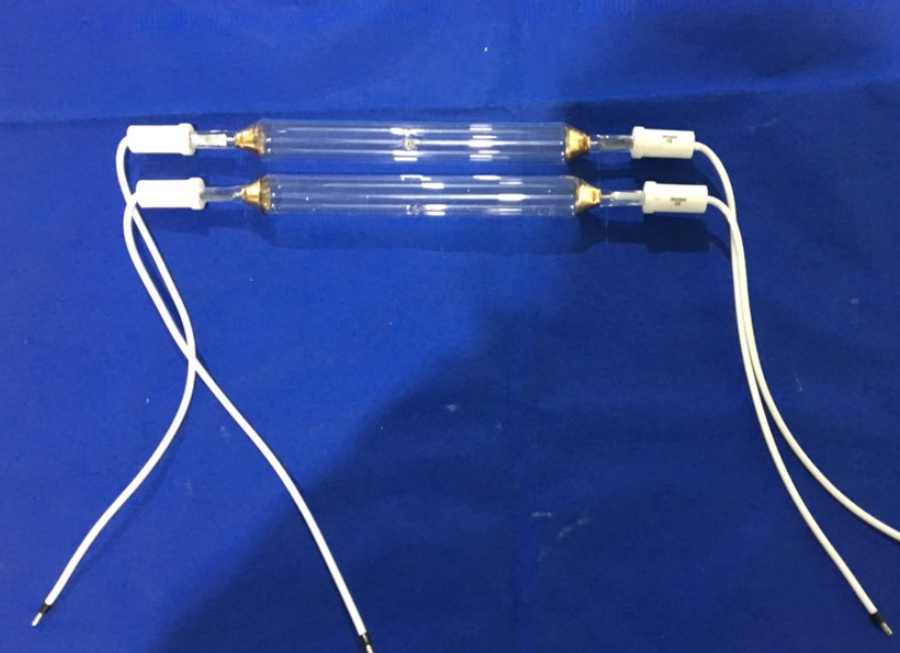
We hate complicated setups as much as you do. That’s why we use standardized connectors. No custom soldering on the shop floor, no headaches—just plug it in and go. If a frame wears out, you just drop in a replacement. One quick tip: the harder you push the UV intensity, the faster your reflectors wear down. Make it a habit to wipe them down every few hundred hours. If you let dust build up, your curing speed tanks, and you’ll start seeing wet, uncured ink on your finished pieces. Not a great look.