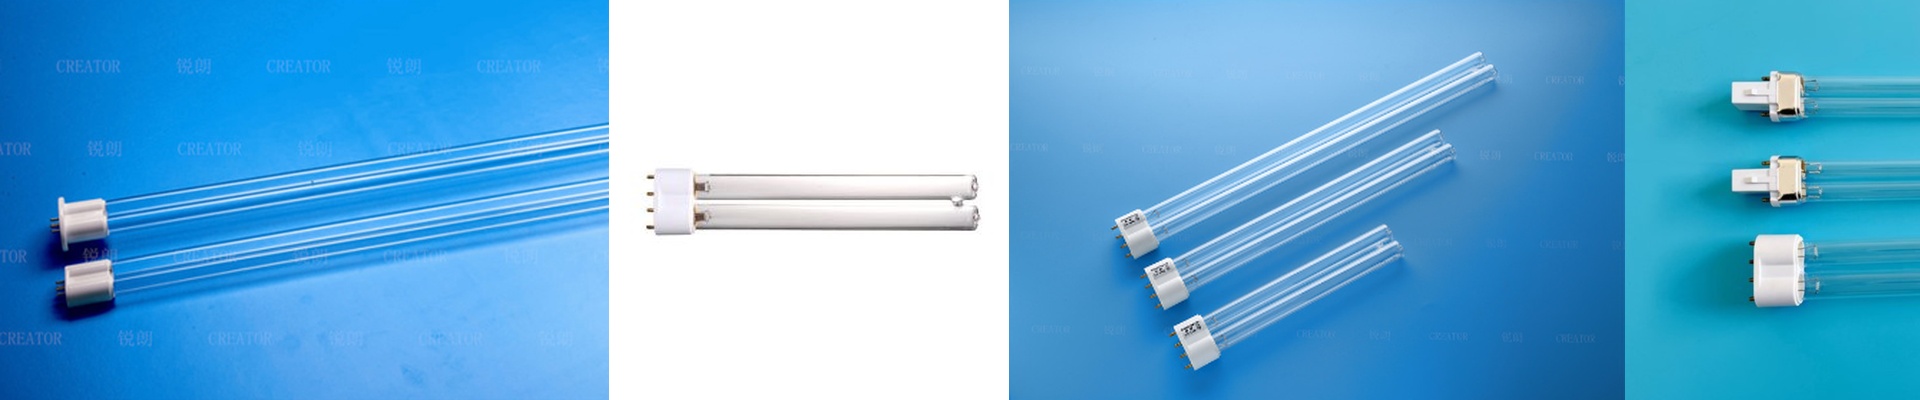
15 Years of Tweaking Mercury UV Lamps: What We Learned
For a long time, we just did the easy thing. We white-labeled other people’s gear. But after 15 years of that, we wanted more. We wanted the same punch and longevity as the big international brands, but without the nightmare of waiting months for a shipment to arrive. So, we started building our own.
The nitty-gritty of the physics
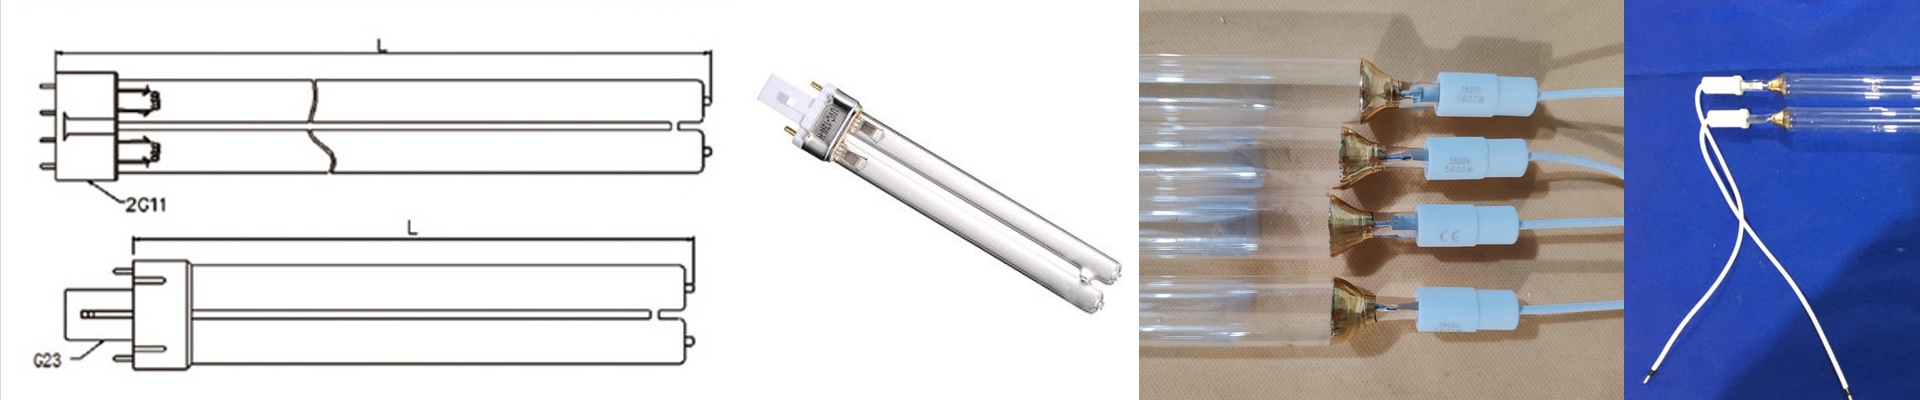
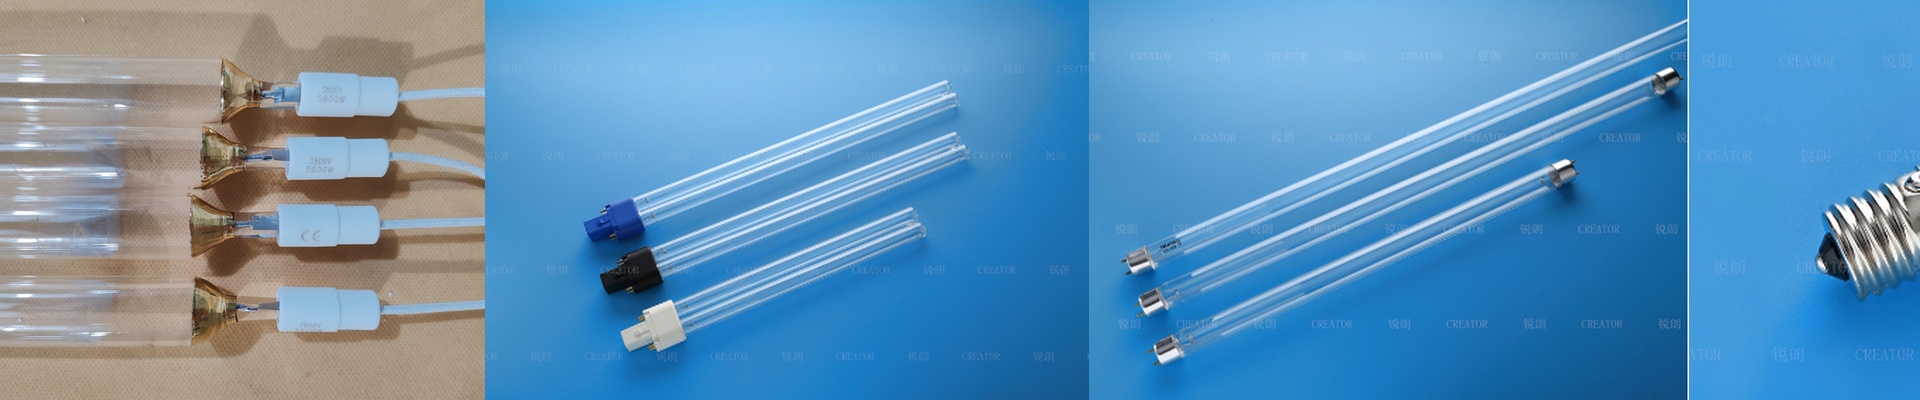
Think of a UV lamp less like a lightbulb and more like a high-pressure vessel. We use high-purity synthetic quartz because if the material isn’t perfect, the UV-C just doesn’t get through. Inside, it’s all about the mercury vapor. Once you hit that strike voltage, the atoms get excited and spit out photons at 253.7nm. Here’s the tricky part: the gas mix. We spent a lot of time tuning this so the arc stays steady. You don’t want your lamp flickering or “hunting” while it’s warming up. If the pressure is off by even a tiny bit? The lamp burns out way too fast.
Dealing with the heat
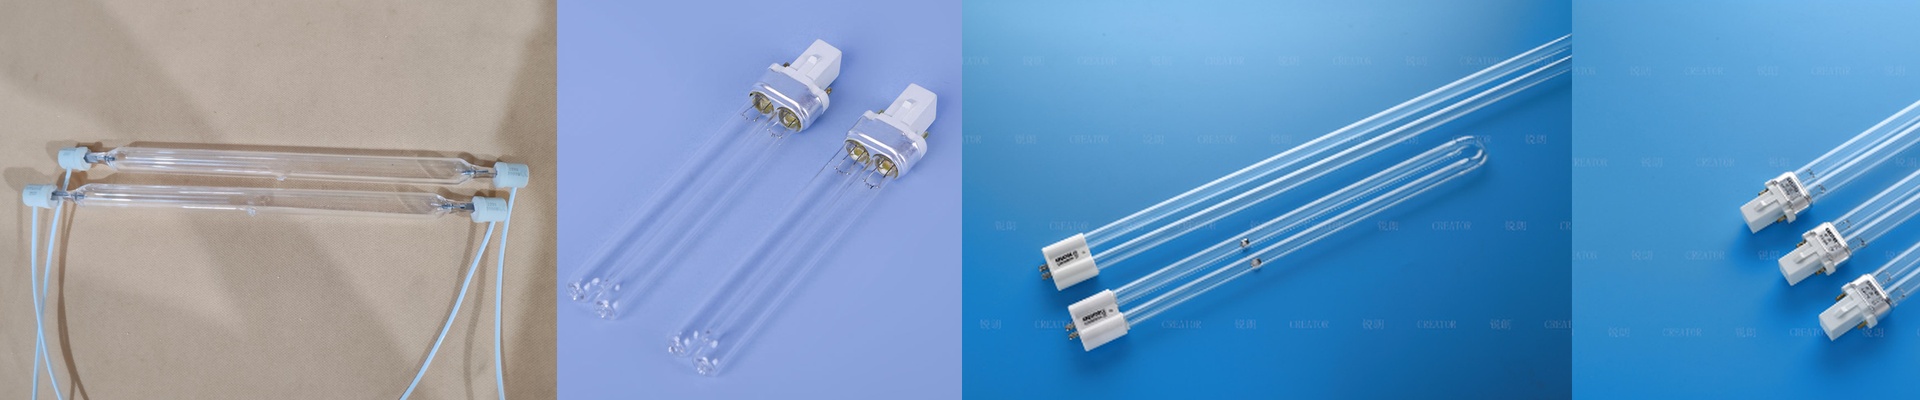
High wattage equals high heat. Simple as that. We build our envelopes to take a beating from continuous operation, but there’s always a trade-off. When you push more wattage into every millimeter, the quartz tube expands. **Pro tip:**Make sure your reflectors are aligned to give the tube some breathing room. If they’re too tight, the tube can actually snap during a peak cycle. Nobody wants that.
Putting them to work
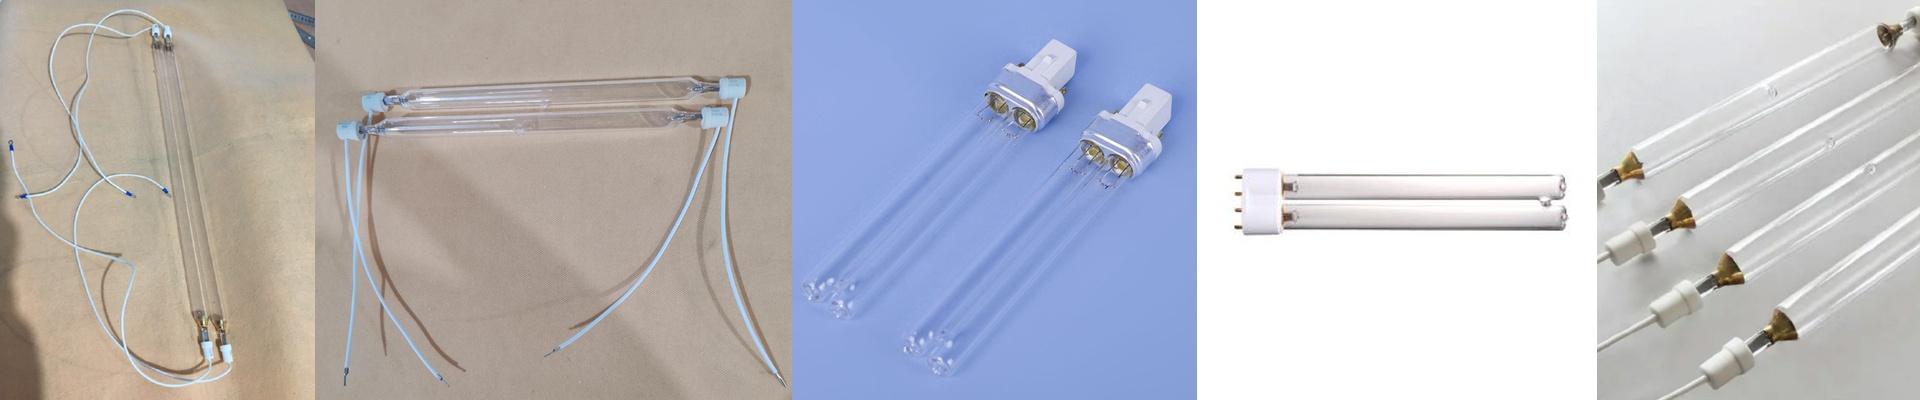
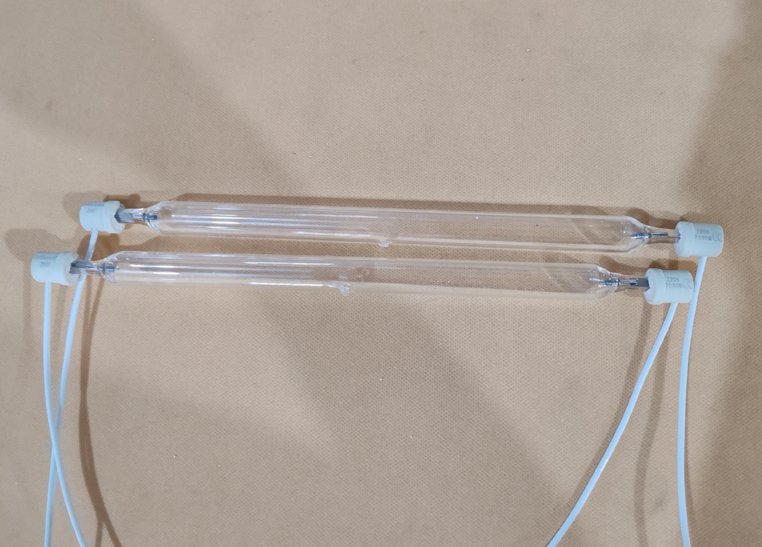
We designed these to be drop-in replacements. Whether you’re running PET blowing or a high-speed coating line, they just fit. We obsessed over the seal integrity of the electrodes. Why? Because that’s where the cheap lamps always leak. Once the gas escapes, the lamp is basically a paperweight. One last thing—check your cooling blowers. If they’re underpowered, the lamp runs hot and dies early. And keep those quartz sleeves clean. If grime builds up, it blocks the UV flux, and you’re wasting power for nothing.