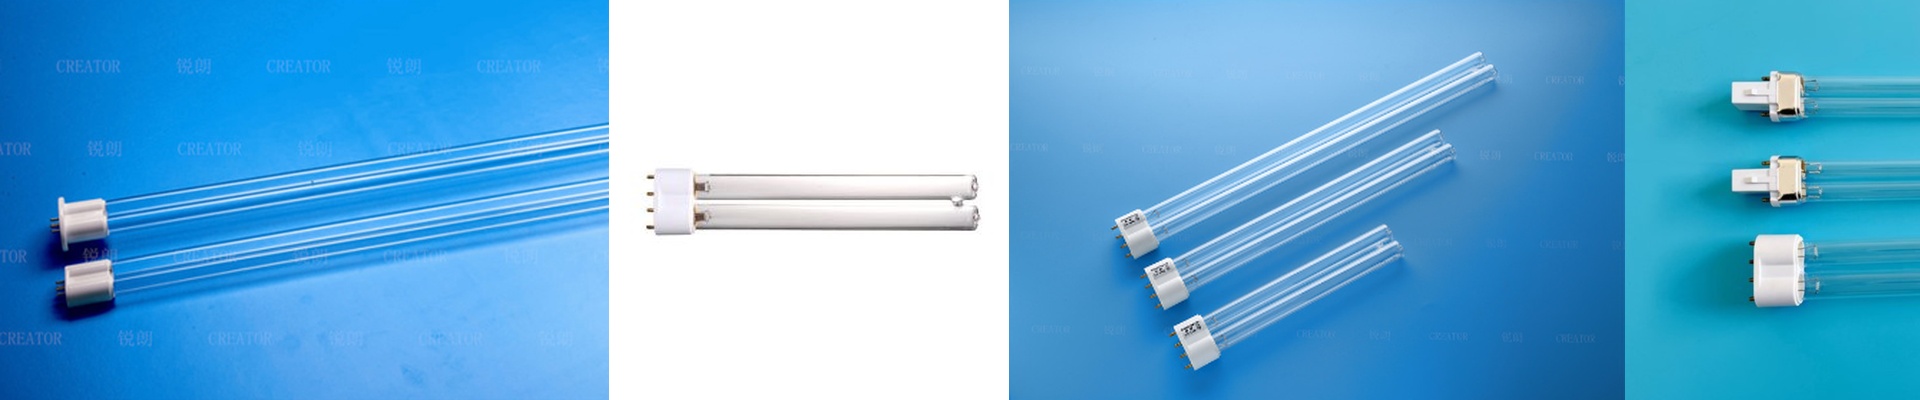
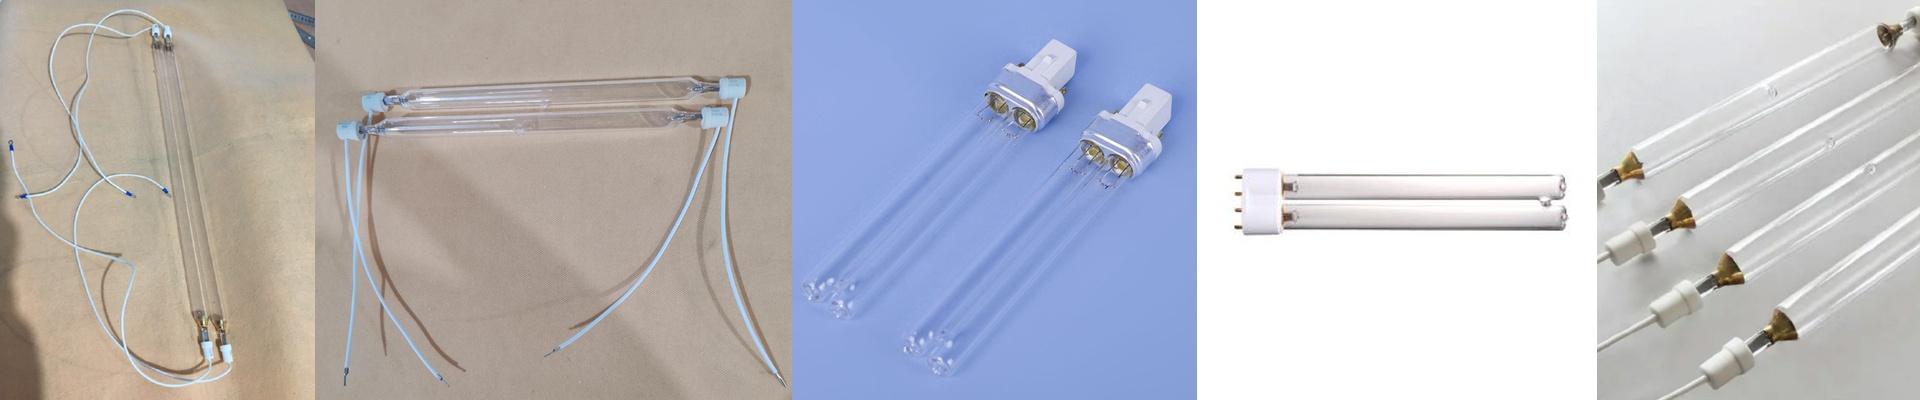
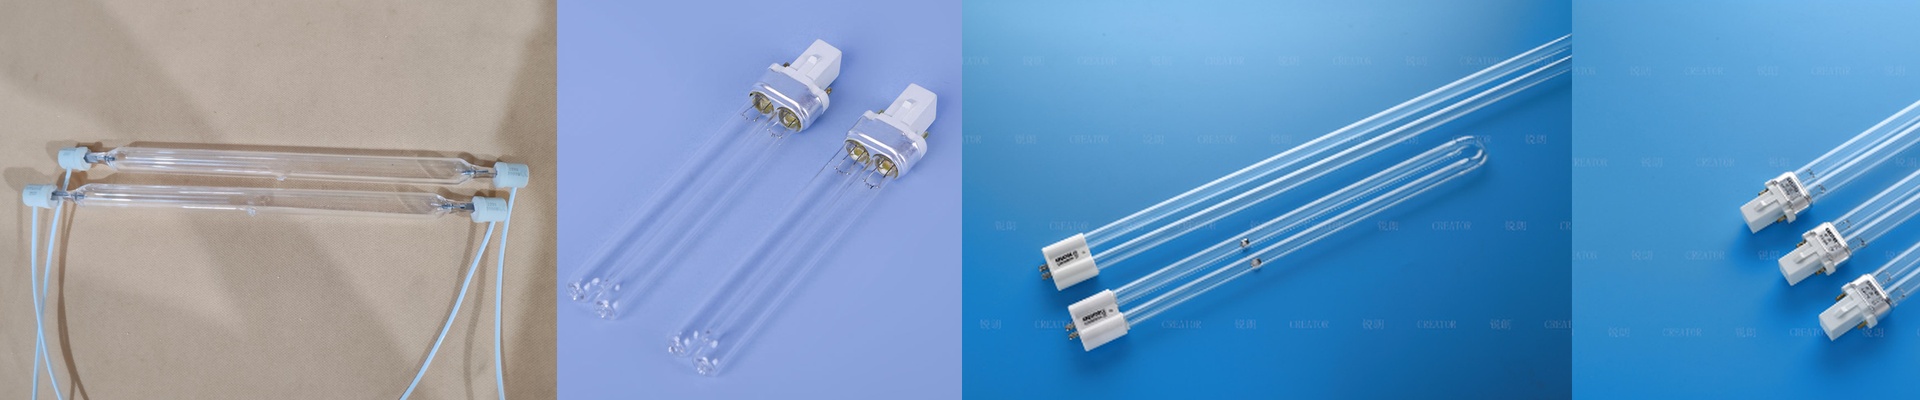
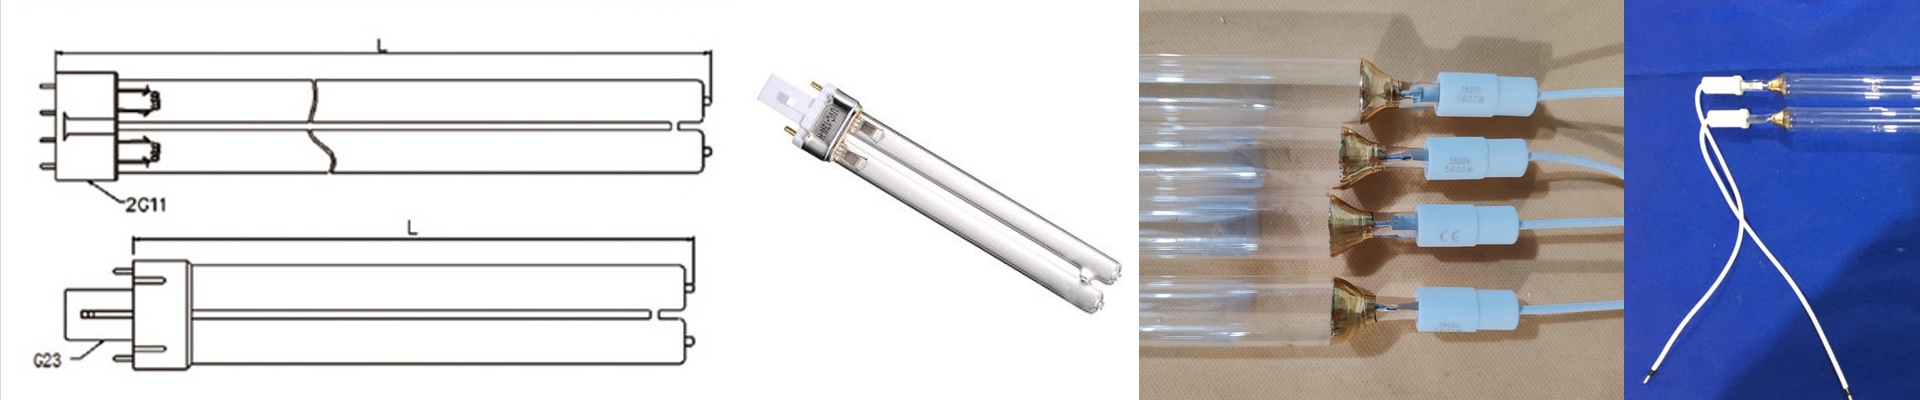
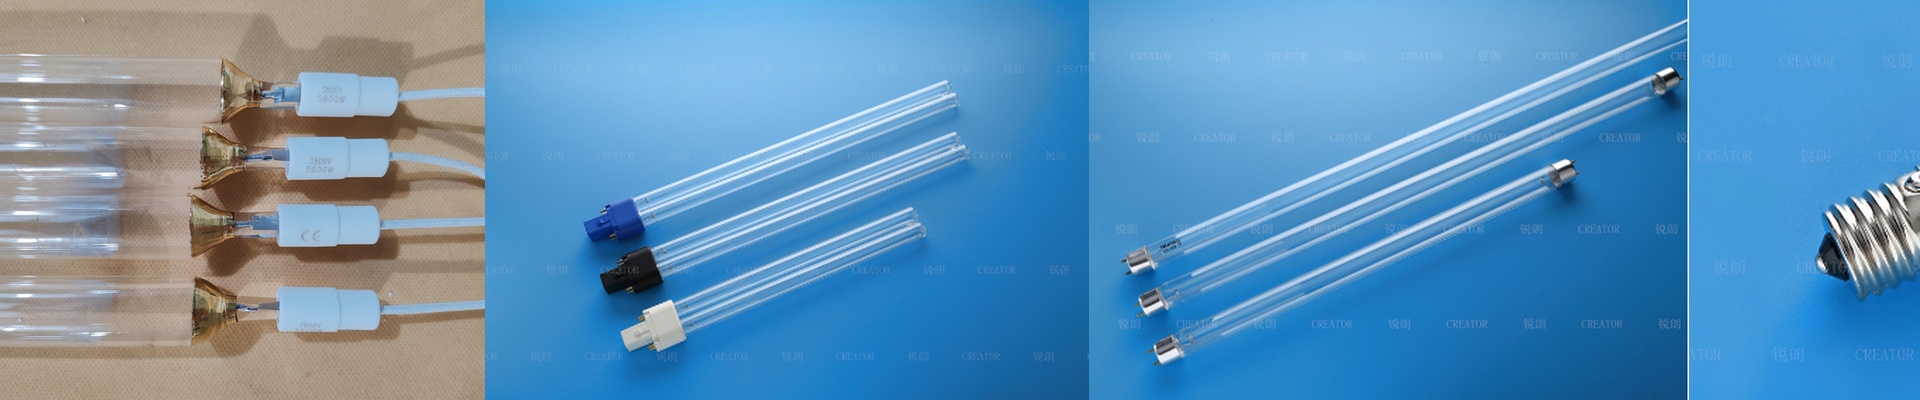
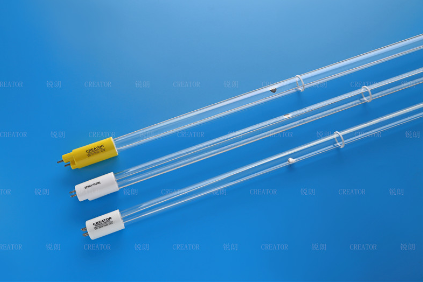
On the press floor, mismatched UV lamps don’t just burn electricity. They leave ink uncured, cause adhesion failures, and turn good runs into scrap. You need a selection method that actually ties lamp output to the press architecture and the ink’s photoinitiator package. What actually drives a UV cure It comes down to spectral output, peak irradiance, and the delivered energy density. Whether you’re running offset, flexo, screen, or gravure, the dominant wavelength has to line up with the ink’s absorption band. Hit 365 nm for standard mercury-based photoinitiators. For LED-compatible formulations, you’re looking at 385 nm or 405 nm. Measure output in mJ/cm² across the cure window, and verify peak irradiance right at the substrate plane. A reflector with a dichroic coating will give you more usable UV and cut down on IR heating. With high-output mercury vapor lamps, expect stable output for 1,000–1,500 hours before output decay forces you to recalibrate. Why this matters in real production We build industrial UV lamps for printing systems, so the spectral output is controlled and the energy density is repeatable. Match lamp power to the lamp housing, line speed, and ink film thickness. On a typical flexo press, undersized lamps leave surface tack. Oversized lamps drive heat into the substrate and shorten component life. Get the configuration right, and you get full cross-linking at line speed. You see reduced dot gain on offset, and consistent cure even on thick screen ink deposits. The details that trip people up Installation is not plug-and-play across platforms. Confirm lamp length, arc gap, end-of-life sensor, and reflector geometry against your OEM fixture. Check connector type and cooling requirements—air-cooled and water-cooled systems handle power density differently. Ozone-free quartz envelopes reduce ventilation needs, but you still have to manage heat and UV exposure. Schedule lamp changes around your maintenance windows so output drift doesn’t start costing you color and adhesion.